The Raspberry Pi uses a variety of input/output devices based on protocols such as HDMI, USB, and Ethernet to communicate with the outside world. In this class you will learn how to use these protocols with other external devices (sensors, motors, GPS, orientation, LCD screens etc.) to get your IoT device to interact with the real world. Most physical devices use analog signals; however computer hardware is digital so in this class you will learn how these signals are converted back-and-forth and how this must be considered as you program your device. The basic design of a sensor-actuator system will also be covered. You will also learn how to build more sophisticated hardware systems using Raspberry Pi expansion boards to create fun and exciting IoT devices. Please note that this course does not include discussion forums.

Interfacing with the Raspberry Pi
4 days left! Save on skills that make you shine with 40% off 3 months of Coursera Plus. Save now

Interfacing with the Raspberry Pi
This course is part of An Introduction to Programming the Internet of Things (IOT) Specialization

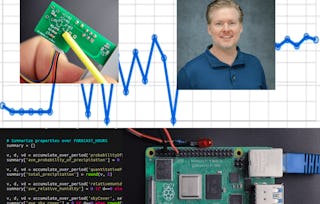
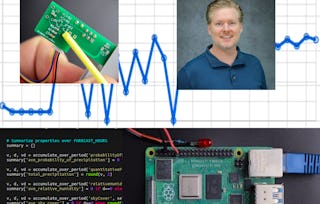
Instructor: Ian Harris
86,099 already enrolled
Included with
1,613 reviews
Skills you'll gain
Tools you'll learn
Details to know

Add to your LinkedIn profile
See how employees at top companies are mastering in-demand skills

Build your subject-matter expertise
- Learn new concepts from industry experts
- Gain a foundational understanding of a subject or tool
- Develop job-relevant skills with hands-on projects
- Earn a shareable career certificate

There are 4 modules in this course
Earn a career certificate
Add this credential to your LinkedIn profile, resume, or CV. Share it on social media and in your performance review.
Instructor
Offered by


Explore more from Electrical Engineering
Johns Hopkins University
Johns Hopkins University


Why people choose Coursera for their career

Felipe M.

Jennifer J.

Larry W.

Chaitanya A.
Learner reviews
- 5 stars
75.69%
- 4 stars
19.34%
- 3 stars
2.85%
- 2 stars
1.11%
- 1 star
0.99%
Showing 3 of 1613
Reviewed on May 28, 2020
Perfect course for an IoT student to understand more about the raspberry pi and want to do extraordinary things
Reviewed on May 22, 2016
Good class. not much different than the Arduino one. Useful to learn and use SSH with linux if you do not have a monitor for your Raspberri Pi.
Reviewed on Nov 24, 2018
Course is great, but it takes forever to grade classmates. For example, by the end of the last week homework , I had to wait two weeks till someone was available to grade.


¹ Some assignments in this course are AI-graded. For these assignments, your data will be used in accordance with Coursera's Privacy Notice.